One of the most important reasons that Android has
Most popular Android smartphone manufacturers customize the stock Android OS adding their own app suites and obviously straying from Google’s services. Even more, devices sold by network providers often include additional apps and features. For those who enjoy Google’s services and prefer a bare Android experience, these devices don’t seem like a great deal.
How to turn any Android smartphone into a Google Pixel
The good news is, you can turn any Android phone into a Google Pixel and we don’t mean magic. After tweaking some settings and installing a few third-party apps you can easily recreate the Pixel experience on almost any recent Android device, no root required!
Step 1 – Install Google’s apps
To start, you’ll need to replace your phone’s stock apps with Google alternatives or the closest equivalent.
Several Google apps come pre-installed on all Android devices. For those, you just need to set them as the default app for the features and services they provide.
Even so, some apps are exclusive to the Google Pixel and not available on the Play Store. Luckily, the vast Android modding community has rebuilt or ported these apps to work on almost any modern Android smartphone. Below, you’ll find links for the default Google apps but also for the Google Pixel-exclusive apps in case you want to give them a try.
Whichever you decide to install, you can set them as defaults by navigating to Settings -> Apps -> Default apps on your phone.
Google stock apps
- Messages
- Google Chrome (Mobile)
- Gboard
- Google Calendar
- Google Photos
- Google Wallpapers
- Gmail
- Google Drive
- Google Phone
- Google Assistant
Google Pixel exclusive apps
The Pixel exclusive apps are ports developed by the Android community. The Google Camera app port is available for various devices from popular manufacturers such as Samsung, LG, Motorola, HTC, Xiaomi, OnePlus and others so check the link above to see if there’s a version for your device as well.
For both Google Camera, and Google Phone Pixel apps you will need to sideload the APKs to install them. No root is required to do this. Simply navigate to Settings -> Security and enable the option called “Unknown sources”. This will allow apps from outside the Play Store to be installed on your device (aka. sideloading).
Step 2 – Remove useless apps and bloatware
While this step is optional it will surely come in handy if you’re running out of storage space on your handset. Removing useless apps and files manually is always an option but we do recommend a better solution known as the app called Files by Google. It’s not a default app but it is highly useful as it will analyze your phone’s storage and help you remove unnecessary data, as well as apps.
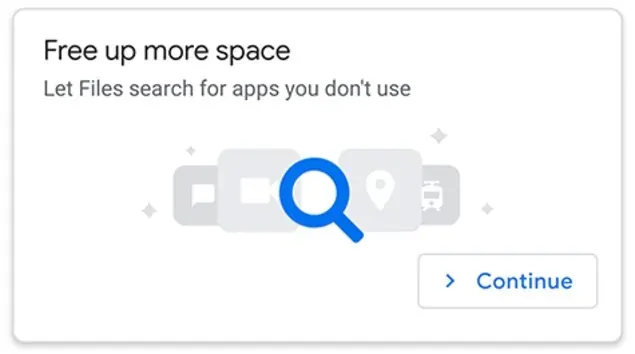
It’s also worth mentioning that some default manufacturer apps can’t be removed but what you can do is disable them which will at least prevent these apps from updating, downloading files and, in general, take more space.
Step 3 – Customize appearance
To get the full Pixel experience you’ll also need to make your phone look as close as possible to Google’s flagship. It won’t be 100% the same but pretty close and it’s not difficult either.
Pixel Launcher Screen
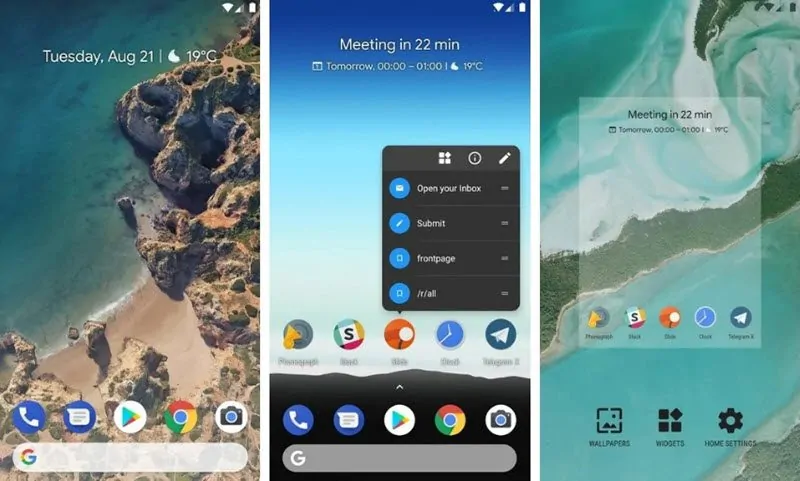
To start, install Rootless Launcher to get a launcher screen like Google’s Pixel phone. The app bundles a great set of features borrowed from Pixel handsets among which you’ll find icon packs, extra widgets, and an integrated Google search bar. Furthermore, Rootless Launcher includes some exclusive options like various bar shapes.
Google Feed
If you also want to “steal” Pixel’s Google Feed Tab for your Android phone, that’s also possible. The Google Feed tab is a customizable feed of news, nearby suggestions and other content based on your searches and general use of the device.
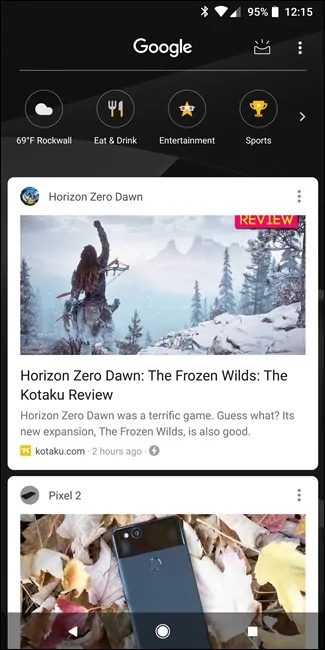
In fact, Rootless Launcher has a Google Feed emulation but it’s not available by default and you will need to sideload an add-on (as explained in the first step). First, make sure you have Rootless Launcher installed then download the “pixelbridge.apk” add-on file. Tap the “download complete” notification to open
Quick Settings menu and Notifications center
Last, but not least, you can recreate the looks for the Android Pie Quick Settings menu and Notifications which is worth it since Power Shade, the app that makes this possible, is much more customizable than by using only the default Android settings.
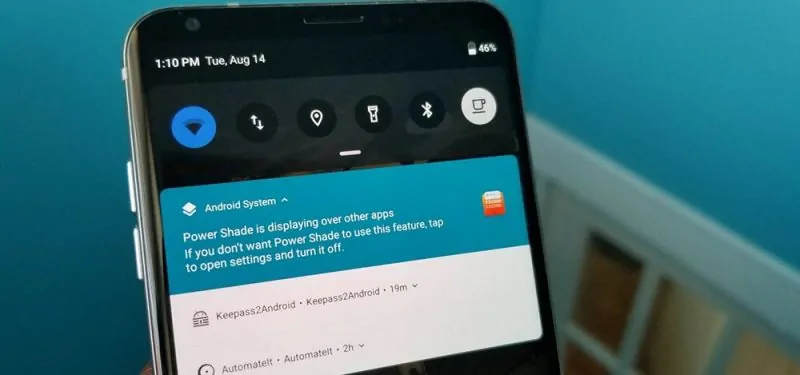
To do that, start by downloading Power Shade from the Play Store and once the installation is complete, open it. Tap the slider to enable it and your notifications and quick settings menu will now have the Android Pie looks. Even more, Power Share allows you to personalize it further using color schemes, opacity levels, background images, and layouts (although some of these features will require root access).






![[Guide] Enable the hidden ‘Condensed’ display mode on Samsung Galaxy S7 and S6 Enable the hidden 'Condensed' display mode on Samsung Galaxy S7](https://www.bytesin.com/wp-content/uploads/2016/04/Activate-the-hidden-Condensed-display-mode-on-Samsung-Galaxy-S7-120x70.webp)


![[Review] Traffic Rider – Just Ride](https://www.bytesin.com/wp-content/uploads/2016/02/traffic-rider-review-feat-120x70.webp)