Ethereum is still the second popular cryptocurrency, right after Bitcoin, so it’s also one of the most mined coins. If you’re a beginner wondering how to mine Ethereum, it can seem pretty complicated at first sight (and truthfully, it is!).
Mining Ethereum is a form of generating passive income and once you go through the hassle of setting everything up, you have a chance of making some attractive gains.
How to mine Ethereum
To begin with, you will need a computer or a graphics card that can compute the algorithm used to generate Ether. The proof of work algorithm used is called Ethash (a modified version of Dagger-Hashimoto) involves finding a nonce input to the algorithm so that the result is below a certain threshold depending on the difficulty. The Ethereum network generates a new “block” your graphics card can find about once every 15 seconds. The reward for finding the block is currently 5 Ethereum although it will change in the future based on the mining difficulty at that time.
It’s also worth mentioning, Ethereum plans to switch to the Proof Of Stake model and from that point onward, it won’t be mineable anymore.
Ethereum miner setup
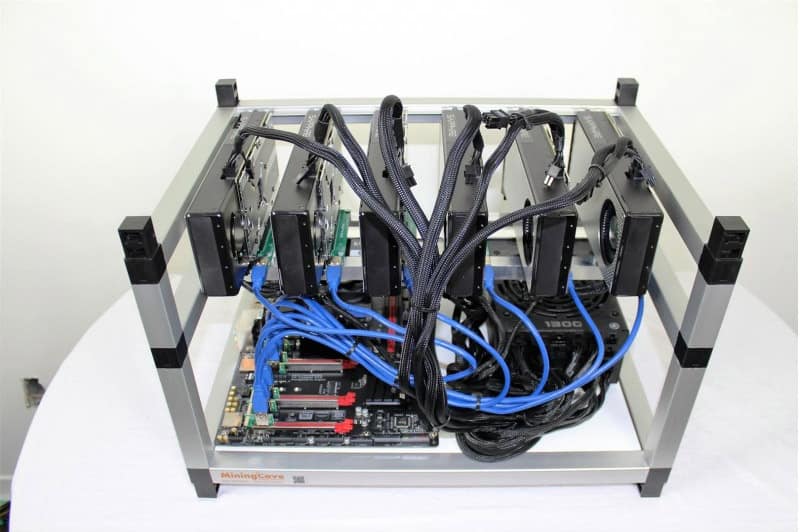
To build an Ethereum miner you have plenty of options to choose from. It’s a good idea to set up a budget and based on that, look up potential video cards, the motherboard and the rest of the hardware.
Here’s what a standard setup looks like:6x Video Cards (Minimum 4GB, 3GB doesn’t work anymore)
– Best Hash/Price GFX card Recommendation: Radeon RX 570 4GB
– 6x PCI-E Risers. Highly recommend getting risers with all capacitors built-in – version 007C
– Motherboard: (with 6 PCI slots minimum for risers) Recommendations: Asus Z170-A, Biostar TB250
– CPU: Cheapest possible: G4400
– Memory: Recommended: 4GB Crucial DDR4-2133
– Power Supply: Minimum: 80% of maximum capacity; Recommended: 1200W Corsair HX1200 or any other 1200W Gold or Platinum PSU but you can build systems with 2 or more power supplies
– SSD or Hard-Drive: Any, 60GB minimum
– Miscellaneous: Ethernet cable (do not run wifi), power button for motherboard, fans for cooling
A setup like this will be able to find approximately 0.5 ETH/month (at current difficulty). Nevertheless, the rate is also subject to change as it’s based on the Ethereum Mining Difficulty. WhatToMine is an excellent website that shows the mining difficulty, but also other details such as hash rate, block reward, power and so on.
How to start mining
To start mining, you’ll need an Ethereum wallet and to join a mining pool. If you don’t own a hardware wallet, the next best thing is to create an Ethereum wallet via MyEtherWallet or MyCrypto. The process is pretty simple and both services will guide you through the process. Congratulations, now you have a valid ETH wallet and you can start mining (and buying) Ethereum.
Ethereum mining pool setup
There’s always the option to mine Ethereum solo, but with a group of mining rigs, called a mining pool, your chances of finding a block are pretty low.
Joining a mining pool will greatly increase those chances as it combines the hash rate of all the miners and the block reward is split between the entire group. You won’t find a block but you will get steady rewards which is a much safer approach.
We’ll show you some of the best Ethereum mining pools to choose from, as well the differences between them.
NiceHash
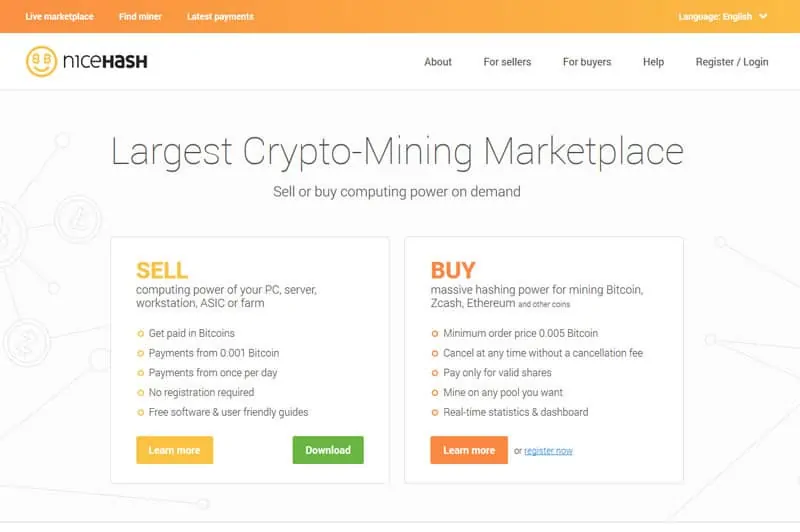
NiceHash is one of the friendliest and popular mining services. The miner will automatically select the optimal algorithm to hash and you get paid directly in Bitcoin.
To start, download the AMD or nVidia installer, depending on your graphics card’s manufacturer. Keep in mind some antivirus programs might detect mining software as malicious files.
After the installation complete, run the miner. It will perform a quick scan to detect your hardware and install the software. Then, enter your Bitcoin address – this is not optional as you will not receive the payments otherwise. After you add your Bitcoin address, click on the benchmark button for the scan to launch. This will ensure your rigs will mine at optimus speed, for each algorithm. When the scan is finished, you can finally start mining.
Nicehash might be 20% less overall hashrate, but thanks to its switching function, for some it’s more profitable than mining Ethereum solo. The payouts are at least 0.1BTC four times per day.
Nanopool
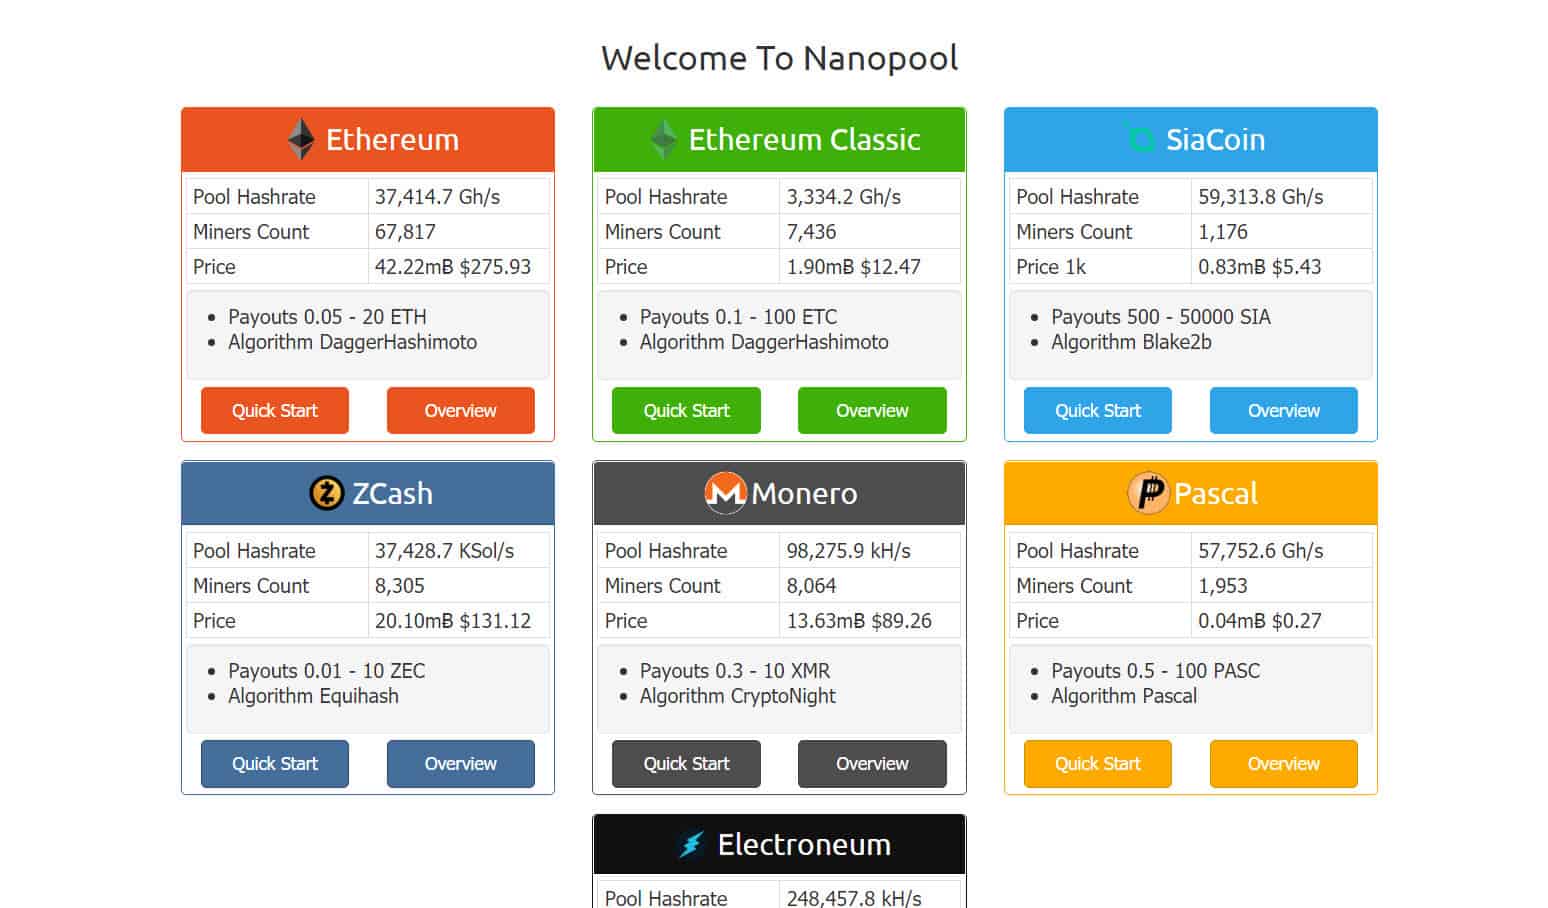
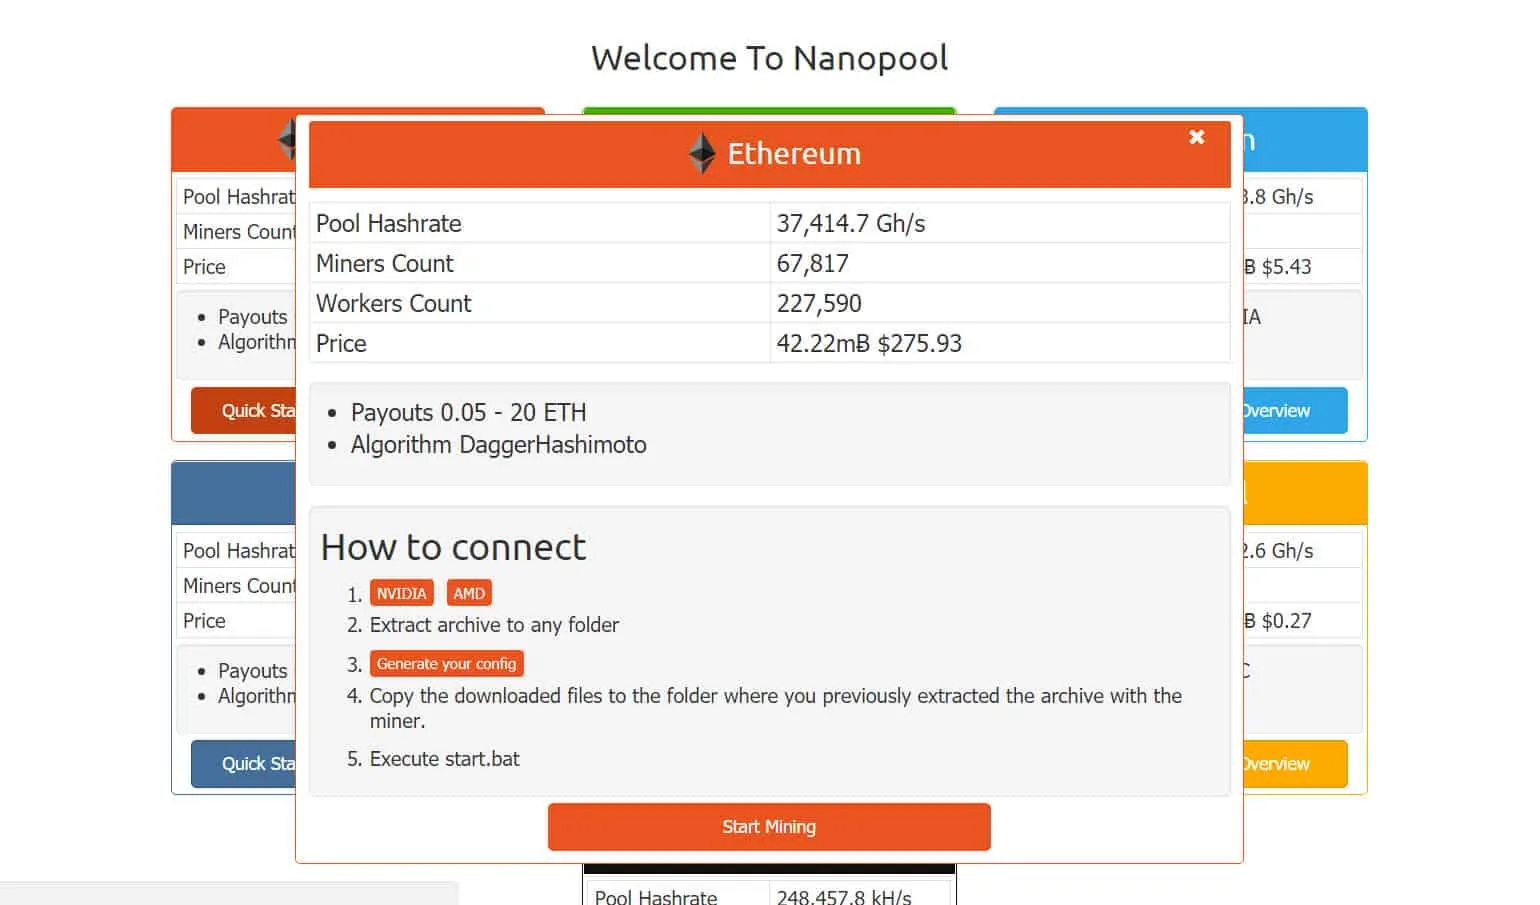
Nanopool has approximately 70,000 members and is currently one the popular mining pools. They have a 1% fee and they payout uncle blocks. In other words, if your miners were close to solving the algorithm that would have received the block reward you’ll get a bonus for this as well.
Ethermine
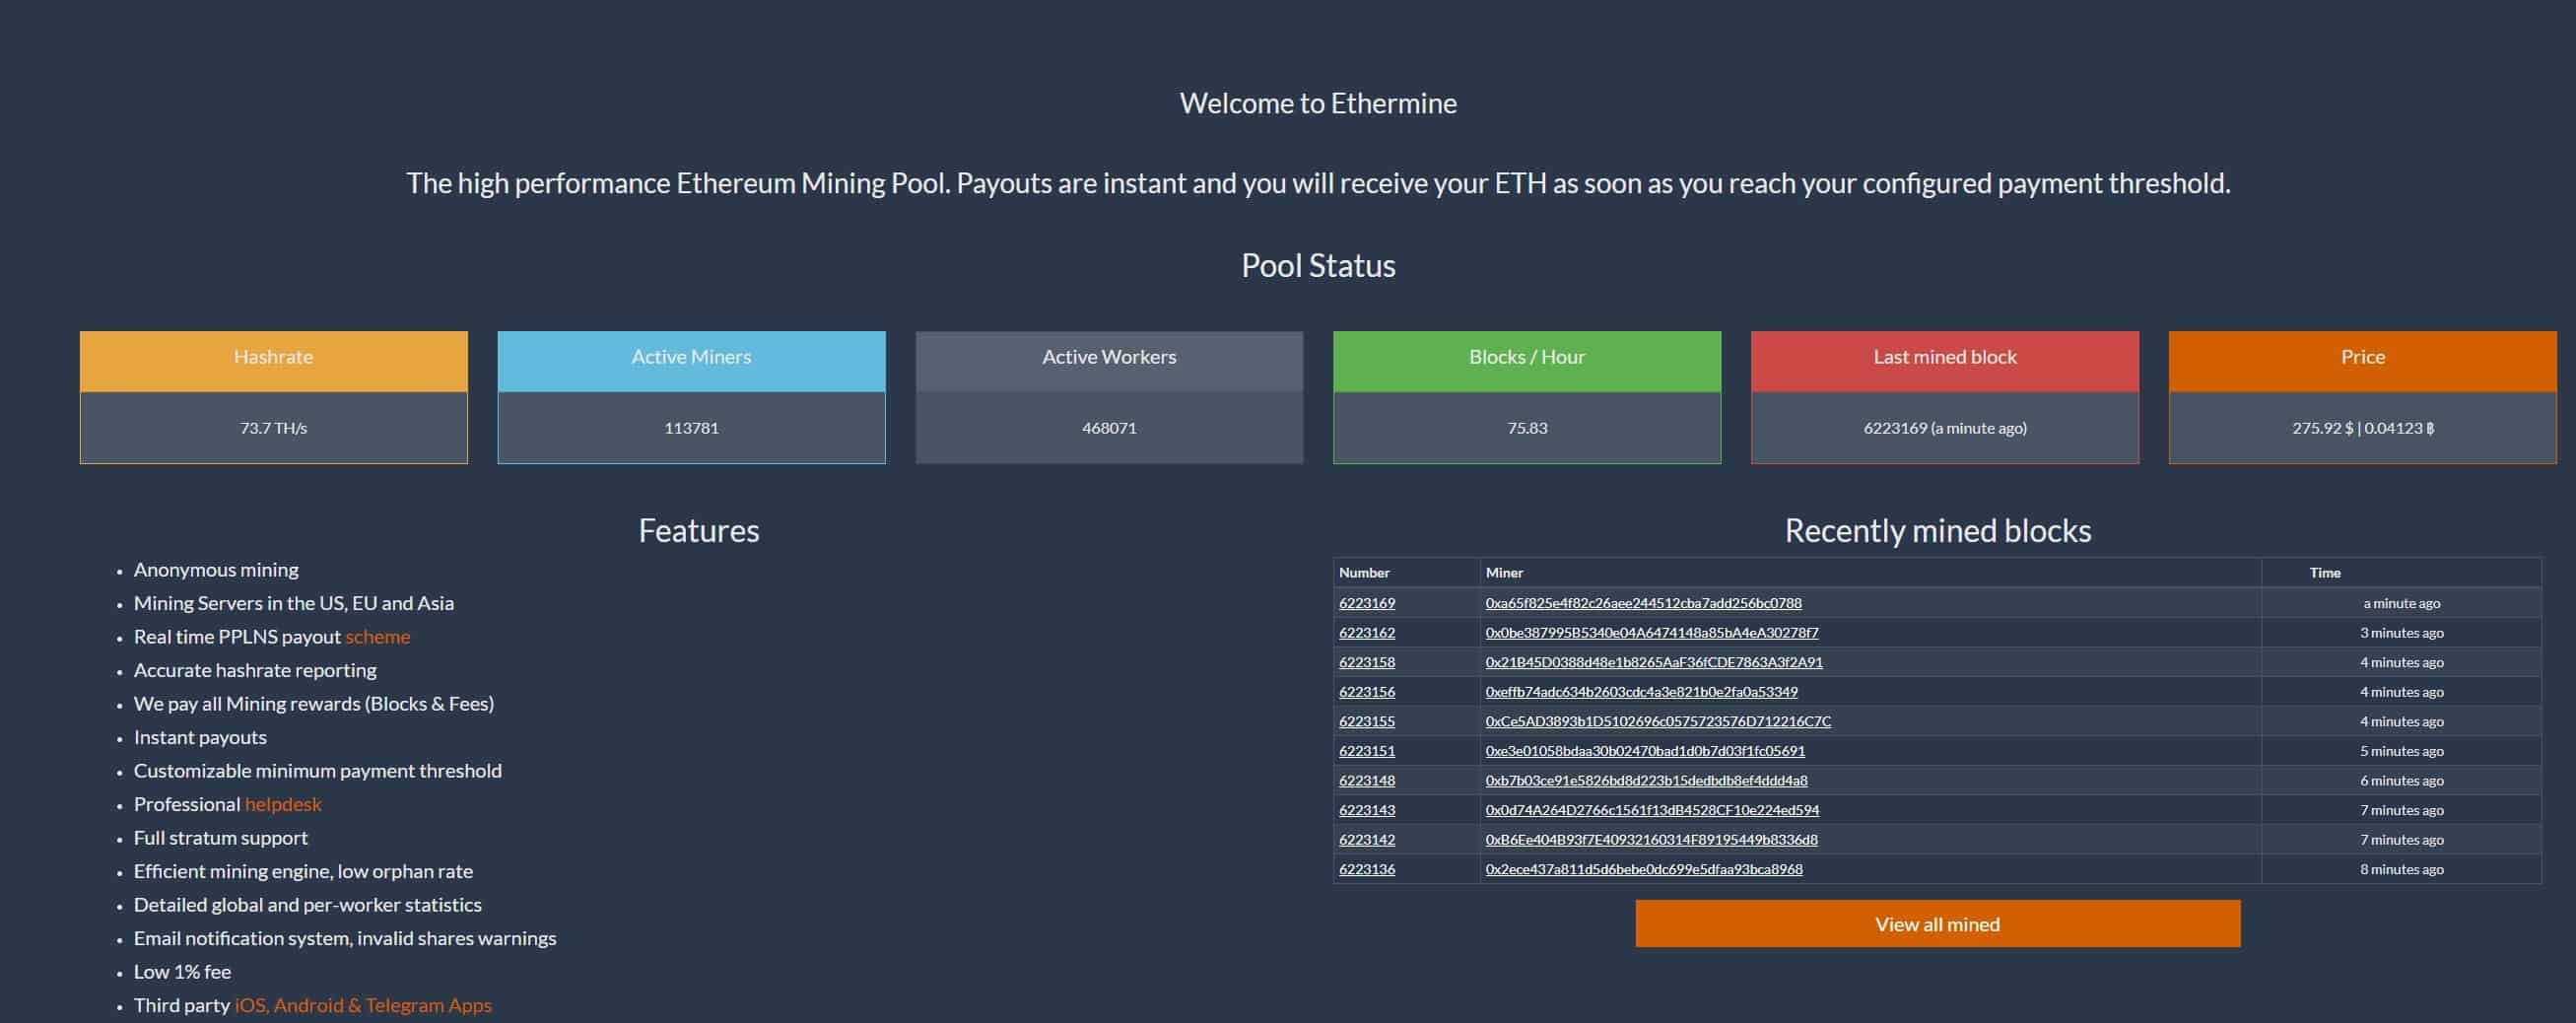
Ethermine is another excellent choice, being at this time of writing, the largest ETH mining pool, with a 1% fee, a pool of 120,000 active miners and payout for uncle blocks. Some users claim that Ethermine grants them a faster hash rate than other eth pools but in our tests, we found the difference rather negligible.
Dwarfpool
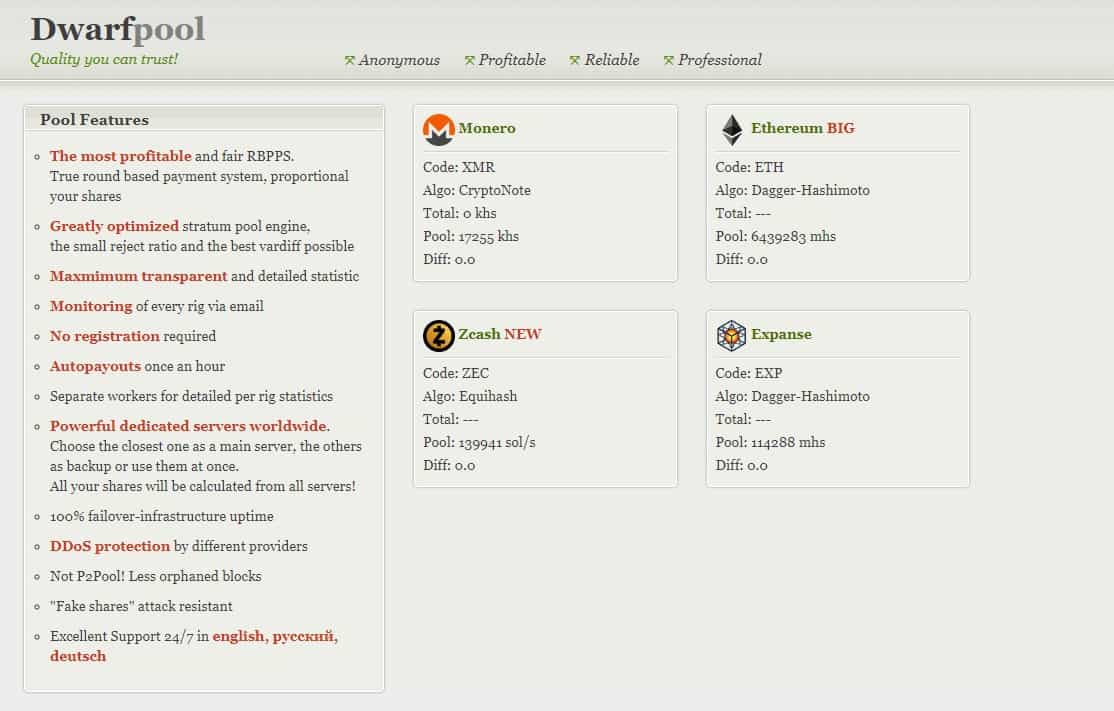
Dwarfpool is the third largest mining pool (hash rate wise) with around 40,000 active miners and a pool fee of 1,5%. As with the other mining pools, Dwarfpool has an array of different worldwide server selection, pays for uncle blocks and has a very good uptime.
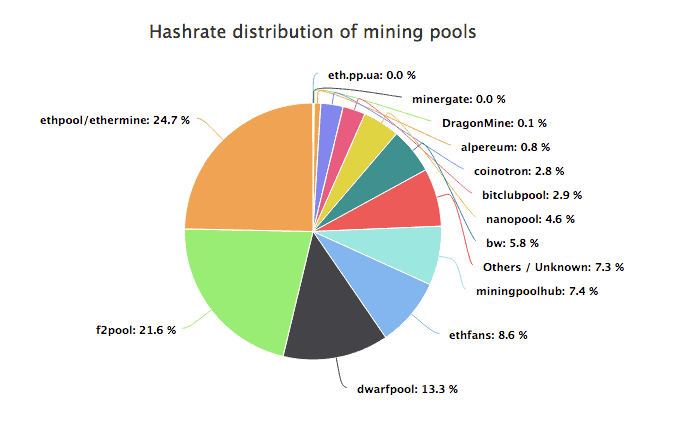
These aren’t the only mining pools that exist as this moment, but we’ve decided to include in this guide the ones that we used extensively. At this moment, we’re mining exclusively on Nanopool since we had the least amount of problems with the service. This may change however in the near future and we advise you try any of the ones provided in this article, as they are our recommendation for any eth miners. Here’s the current hashrate distribution of all the ETH mining pools:
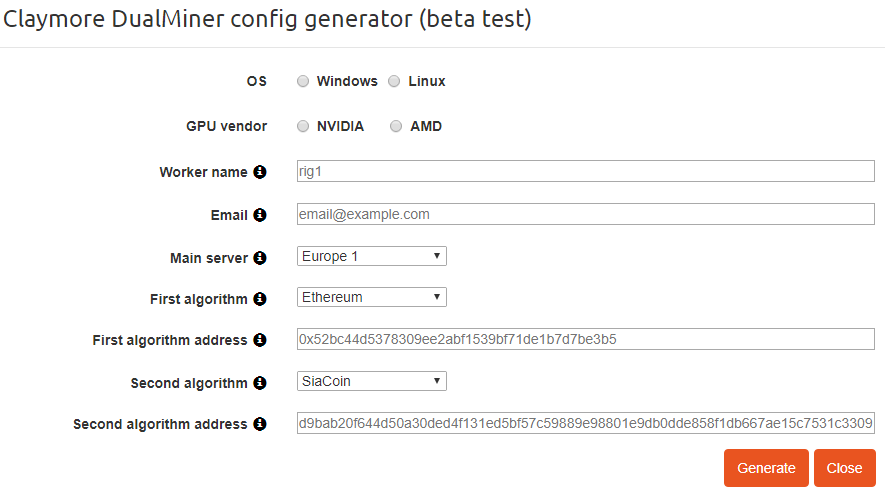
All platforms are able to run different applications to hash for Ethereum. One of the best options to use is Claymore Dual Miner since it lets you hash for Ethereum as well as another altcoin in parallel (this is optional, you can mine only Ethereum). Ethereum requires memory usage so if you want your CPU to also be used for mining, Claymore Dual Miner supports that.
Nanopool is one of the few mining pools that has a crazy simple setup guide that lets you download and setup Claymore Dual Miner with very little effort.
Visit Nanopool and under Ethereum, click “Quick Start”. Then, all you have to do is follow the steps displayed in the popup to download, install, and set up Claymore Dual Miner. After the config file is moved to the extracted file location, click the start.bat file to load up the miner.
You will need to make sure you have the suitable virtual memory enables (at least 16GB). To find it, open the Start Menu and search for ‘system’. Switch to the Advanced tab then go to Performance Settings and select Advanced one more time.
To continue, click ‘Change’ under Virtual Memory. Make sure the box called ‘Automatically manage paging file size for all drives’ is unchecked. You will also need to input a custom size of 16384 or the maximum allowable value into the Initial and Maximum size fields. This is needed to ensure there won’t be any virtual memory related errors.
As you can see, mining Ethereum is not an impossible feat and it’s pretty simple to set-up once you get the idea, and hopefully, you will soon discover the effort was truly worth it.
Even so, you definitely should be considering all variables before anything else. This includes hardware, electrical and maintenance costs, as well as any fees you will need to pay so you can have an accurate prediction of your monthly income and the investment cost. Again, we recommend Whattomine, it’s an excellent profitability calculator for any given mining setup, with electricity costs included.






![[Guide] Enable the hidden ‘Condensed’ display mode on Samsung Galaxy S7 and S6 Enable the hidden 'Condensed' display mode on Samsung Galaxy S7](https://www.bytesin.com/wp-content/uploads/2016/04/Activate-the-hidden-Condensed-display-mode-on-Samsung-Galaxy-S7-120x70.webp)

![[Review] Traffic Rider – Just Ride](https://www.bytesin.com/wp-content/uploads/2016/02/traffic-rider-review-feat-120x70.webp)